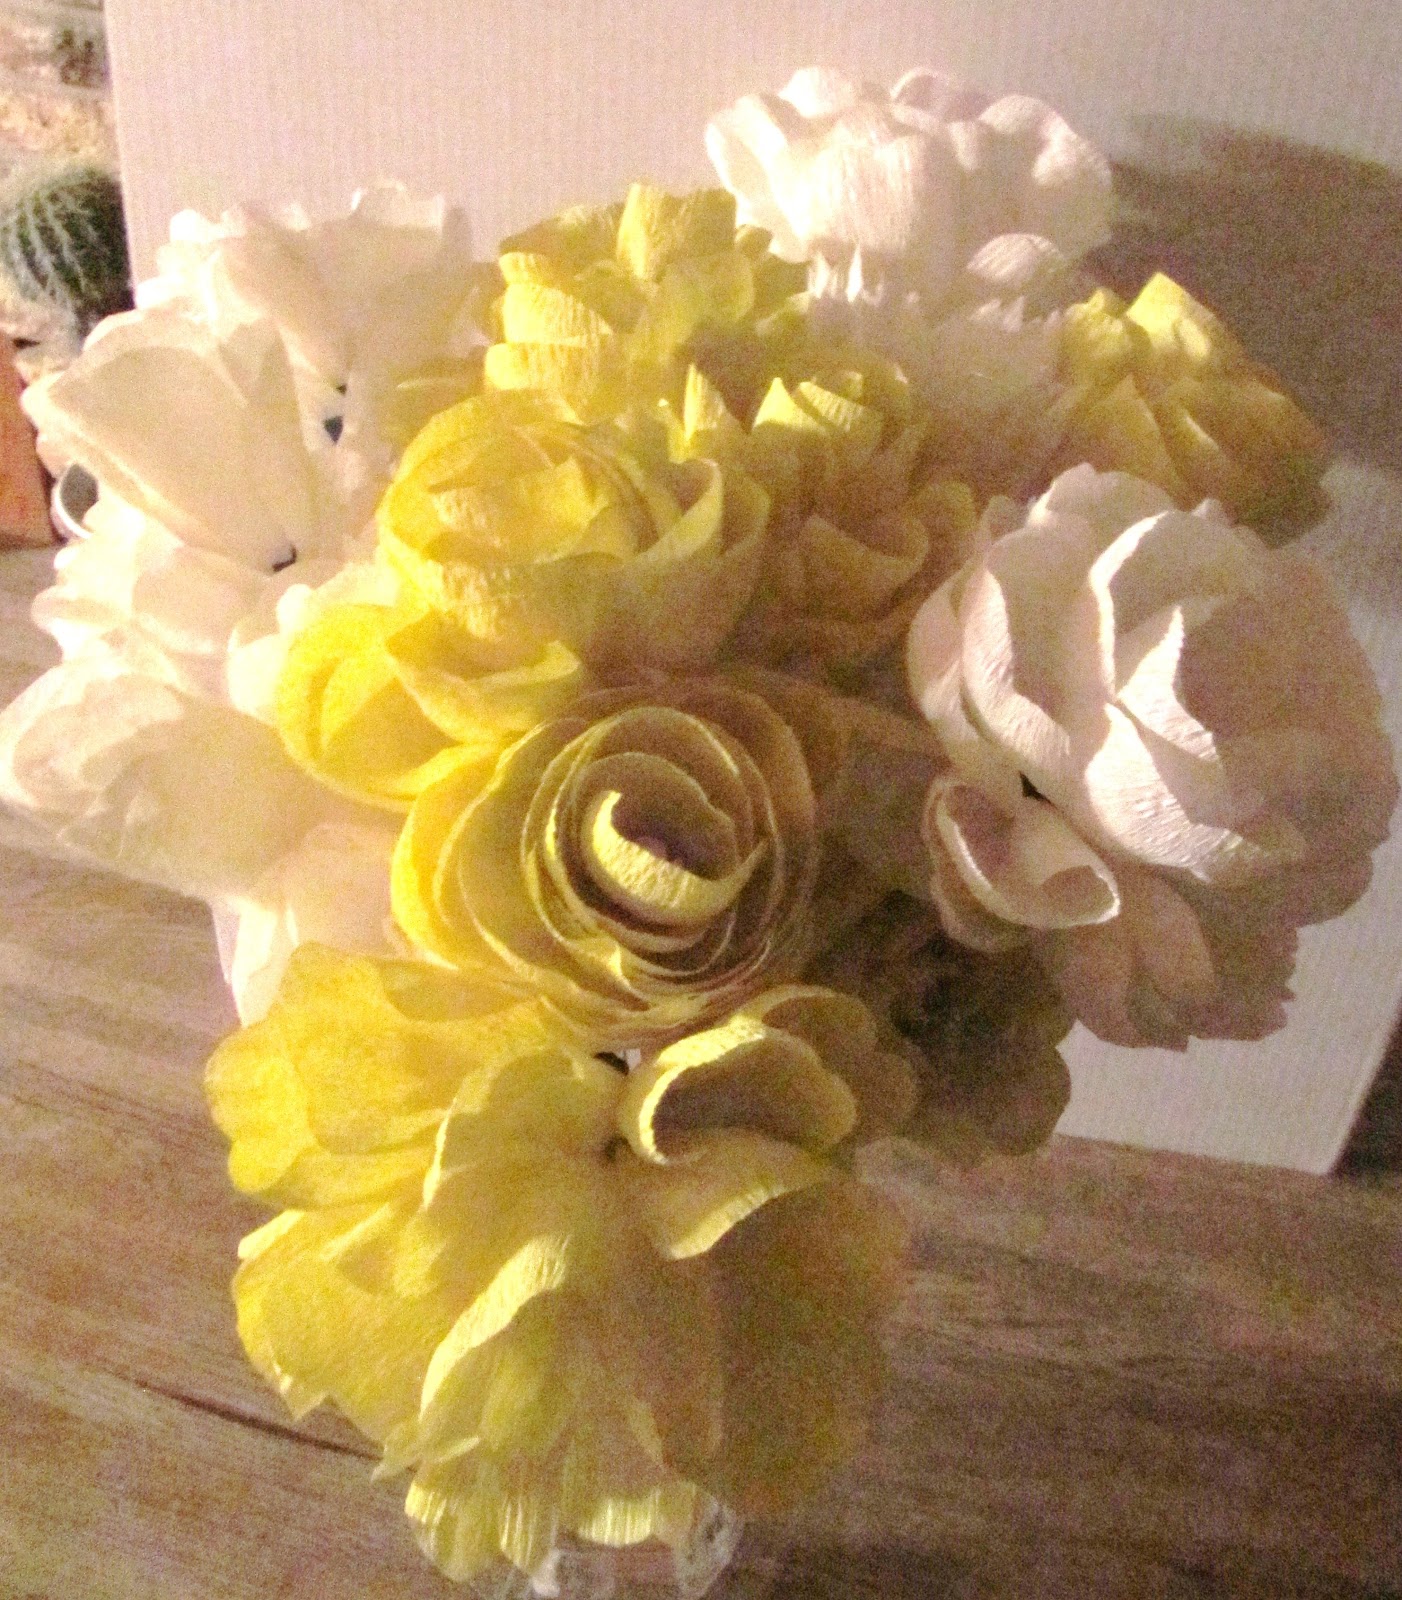
Personal pic
I take eating cake very seriously.
Our venue includes a wedding cake in their package (sweet. literally.) through a local bakery called Central Continental Bakery. I didn't think much of it, not being familiar with any bakeries (I'm more of an apple pie from Costco kind of girl usually--that shiz is delicious), but both my mom and Mr. Unicycle's mom said it was the best bakery ever when they found out we were using them.

Personal pic
We had the choice of 5 different cake flavors:
- white
- yellow
- chocolate
- swirl
- combination--which doesn't actually count as a distinct flavor, but rather, a tier of yellow and a tier of chocolate. The Unicycles had a huge argument about this in Starbucks actually. I lost the argument. I was wrong.
We also got to choose from a bunch of fillings. We decided to get 4 cake samples so we could try out all of the cake flavors (well, almost all, depending on if you count combination as a flavor), which meant we could only try 4 different fillings as well. We chose:
- strawberry bavarian
- raspberry bavarian
- custard
- chocolate buttercream

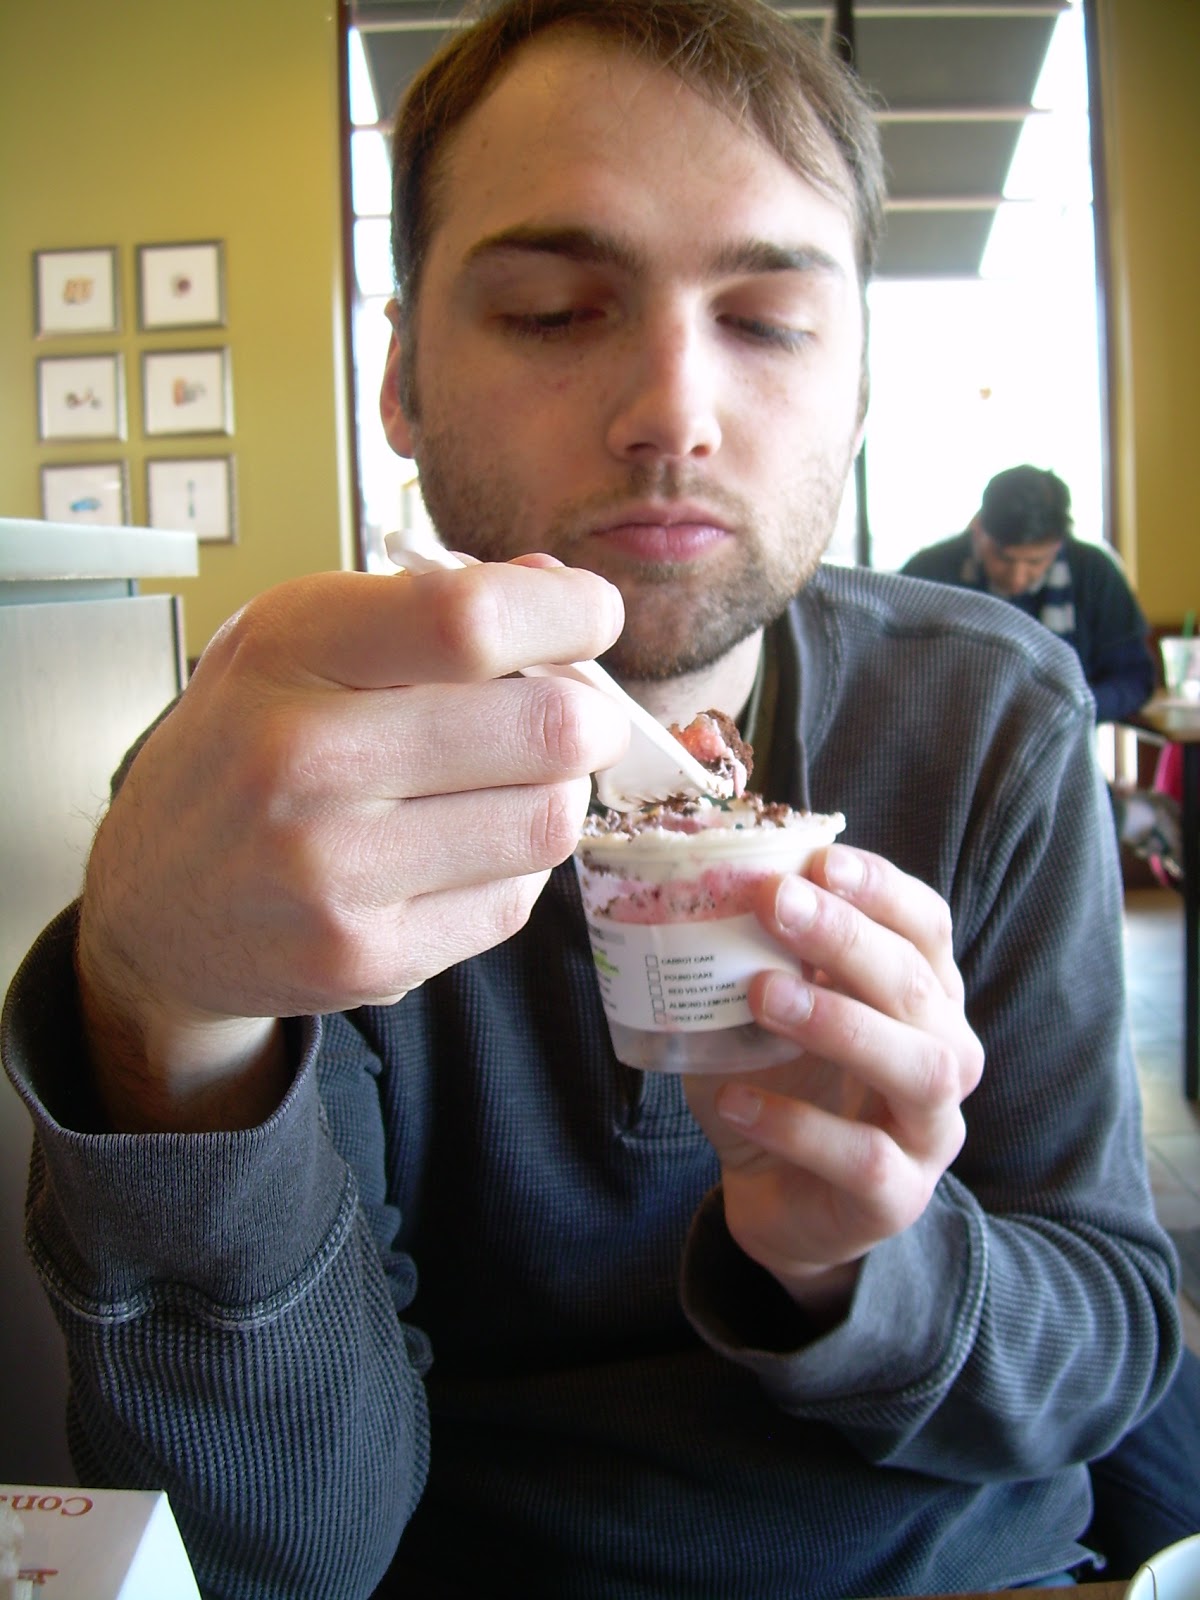
Personal pic
The carnage.
All of their cakes come with vanilla buttercream frosting, so that was one variable we didn't have to worry about. The bakery gives you the cake in little cups to take home and try. I suggested we do our tasting in Starbucks because I love Starbucks and had a caffeine withdrawal headache that was prohibiting me from fully enjoying the cake tasting experience. Unfortunately, this meant that the hipsters and beatniks sitting around us had to endure our argument about whether combination and swirl were the same flavor. I know, I'm dumb.
Personal pic
Mr. Unicycle going in for the kill
Neither of us are big fans of chocolate cake in general, and after tasting the chocolate sample, we ruled that out. My unrefined palate couldn't detect a difference between yellow and white cake, but Mr. Unicycle liked the white better, so we decided to go with white cake.

Personal pic
I'm trying to eat and argue about combination being a flavor at the same time.
Neither of us really liked the chocolate buttercream filling either. His favorite filling was the raspberry. I liked all three of the others, but I'd really be satisfied with anything. I'm not picky about cake. If it has a million calories, I'll probably like it. So with that being said, we're going with the raspberry filling. Can you believe we duked it out over whether combination was a real flavor, but we didn't even argue a little bit about which flavor to serve at our wedding? And to think I was worried about that.

Personal pic
Bedroom/cake eyez.
Next up, I'll show you our cake design inspirations!
So here's my question: I think it might be nice to offer our guests a choice in cake flavors by alternating tiers, i.e. a tier with raspberry filling and a tier of custard. Mr. Unicycle thinks most people don't like custard, but I'm not so sure. I personally love custard (even though it has "turd" in it when you say it out loud), but I'd probably choose the raspberry anyway. Is it important to give guests a choice? If so, is custard the right choice?